
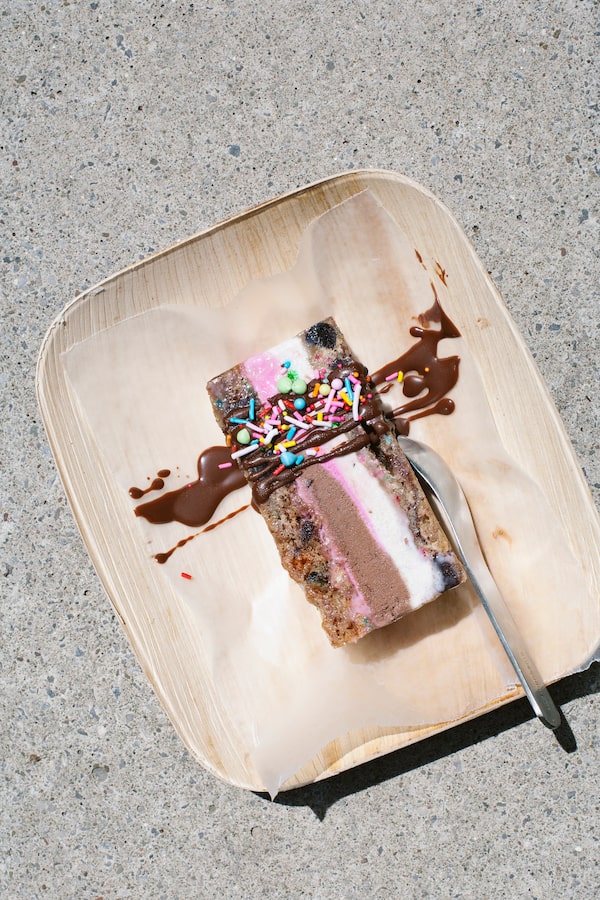
Carnival BarsTara O'Brady/The Globe and Mail
It most likely began with Funfetti around five years ago. The name, owned by Pillsbury, is older than that, introduced in 1989, but it was that recent peak in popularity of cakes, cake pops and cupcakes freckled with rainbow specks that became the flashpoint for a full-on sprinkle revolution.
The movement was years in the works. In the late aughts, Christina Tosi created the archetypal example of a confetti cake with Milk Bar’s instantly recognizable, and often copied Birthday Cake (a bare-sided stack of multicolour-specked layers alternated with white frosting and topped with cake balls).
Prior to this reimagining, such sprinkled goods had a charming kitsch factor that played upon nostalgia more than anything else. At the time, most sprinkles, jimmies, or hundreds and thousands were gritty rods of sugar, gummy with wax. But as the market seemed to have an unending, literal appetite for the candy treats, so did an interest in a broader range of shades as well as sprinkles that truly tasted good.
Stella Parks, senior editor at Serious Eats and author of 2017’s bestselling BraveTart: Iconic American Desserts, was an early adopter of a homemade version.
“I started making sprinkles from scratch while working at a restaurant where we made everything from scratch, which meant no commercial sprinkles for the pastry department.”
This summery dip shows off the artful possibilities of crudité
A fresh summer menu that requires no heat to make
Why you should make room on your grill for carrots this summer
The response was so great, Parks thought to publish the recipe. “I first put a recipe for homemade sprinkles on my blog and on Serious Eats back in 2011; as far as I know there were no recipes for homemade sprinkles online at the time.”
She continues, “the idea of making something so inherently commercial from scratch seemed to excite a lot of people.”
In light of the confectioneries’ omnipresence – find them enthusiastically bursting forth from baker and author Amirah Kaseem’s piñata-style cakes – I considered my own sprinkle manifesto. The large-scale versions with mixed textures are, in my opinion, best for the exterior use. These mixes can carry rogue bits and bobs, perhaps something included for colour but without thought to flavour. I came across a brand that used sour balls in its mix, a taste difficult to avoid when baked into a cake.
But if I could only have one type, it would classic, crunchy sprinkles. The sprinkle-doughnut sprinkle. They add whimsy and texture to a dessert, along with a subtle sweetness. Inside a brownie or bar, they retain their hue and shape as well. Other styles bleed quite a bit, or can melt entirely.
Parks considers sprinkle usage is a personal choice. “The best use of sprinkles will probably vary from person to person, because it’s honestly about what excites you most ... I like to use commercial sprinkles when I’m more concerned with creating a quick and festive vibe, but homemade sprinkles are great for adding a burst of custom flavour, like strawberry sprinkles on a lemon cake.”
Toronto-based Sweetapolita has been a go-to for all things sprinkle since 2015 (Owner Rosie Alyea sells her trademarked Sprinkle Mixes online and they are available in stores around the world, including Bulk Barn in Canada). Its Natural Crunchy sprinkles are exceptionally thin, long and snap gratifyingly, which I particularly appreciate.
I employ such sprinkles in what my family call Carnival Bars. The recipe below makes one single layer of thin and tender blondie-like bars, which my children like straight from the fridge with milk or cut into squares and frozen in anticipation of topping ice cream sundaes. For the most over-the-top presentation, as photographed here, I double the bar recipe and bake two rectangular pans at once, then make ice cream sandwiches.
There are two approaches to assembly. Cut the cookies first, then fill and squish, or make a behemoth singular sandwich, then cut into portions. Whichever the method employed, if using a very firm ice cream let the sandwiches sit at room temperature to soften for a few minutes before serving. If the ice cream is not so hard set, eat directly from freezer.
It’s a lovely (ice cream) parlour trick to make one’s own chocolate dip. It’s simply a case of melting together chocolate and coconut oil – using unrefined will impart a presence of coconut, while refined is more neutral. The ratio between the two will determine if the coating is thin and crackling, or thick and dense.
And then, all you need are sprinkles.
Carnival Bars
Tara O'Brady
Ingredients (Makes one 9-inch-by-13-inch tray – double base recipe for ice cream bars)
For the base
- 6 ounces unsalted butter, plus more for greasing pan
- 10 1/2 ounces brown sugar
- 2 tablespoons corn syrup
- 1 teaspoon medium-grained kosher salt, divided
- 8 ounces all-purpose flour
- 1 1/2 teaspoons baking powder
- 1 egg, cold
- 2 teaspoons vanilla extract
- 6 ounces rod-style or crunchy sprinkles
- 4 ounces chocolate (chopped bar, or chips)
For ice cream bars
- 4 pints ice cream of choice, one flavour or a mix
- Chocolate dip, homemade or store-bought
- Chopped chocolate, nuts, and sprinkles of choice
Preheat an oven to 350F, with a rack in the middle. Grease a 9-inch-by-13-inch pan and line with a cross of parchment paper overhanging on two sides.
Place the butter, brown sugar, corn syrup, and half the salt in a medium saucepan. Melt over medium-low heat, stirring often and not allowing to boil. Pull off the heat and set aside.
While the butter mixture cools, whisk together the flour, baking powder and remaining salt in a small bowl.
Working quickly, vigorously stir the cold egg into the butter mixture along with the vanilla. Tip in the dry ingredients and stir until almost combined (some visible flour is fine). Fold in the sprinkles and chocolate. If the butter mix is still warm, it will melt some of the chocolate here; this achieves a marble effect in the bars. I sometimes encourage the look by folding in half the chocolate, waiting a moment, then barely folding in the rest. Do as you like.
Scrape the batter into the prepared pan, spreading to the edges. Bake until lightly golden and puffed at the centre, with a shining, crackled crust, about 20 minutes. Set the pan on a cooling rack and allow the bars to cool completely.
To make into ice cream sandwiches, double the base recipe above. Either cut each pan into 18 bars then sandwich with ice cream, or spread a single pan with all the ice cream, then stack the second blondie slab atop (face-side up to see the most visible sprinkles, facedown for the smoothest finish). In the latter case, refreeze to set, then cut into bars. Decorate as desired.
Live your best. We have a daily Life & Arts newsletter, providing you with our latest stories on health, travel, food and culture. Sign up today.